Adding an action to your app
Feature availability depends on the cloud platform you use. For details, refer to the Apps feature availability page.
- The App creator role allows you to create and edit action apps.
- To see the list of action apps in UiPath Apps Studio, you must be the Co-author for the desired app.
Add an action to your app and deploy it to Orchestrator as follows:
-
Go to the Apps homepage and select the app where you want to add an action.
-
Select Add any from the dropdown arrow next to Add control, and select Action.
noteYou can only add one action per app.
-
A disclaimer notifies you that once you deploy the app, you must access it via Action Center. Select Continue. The Action Properties schema window opens automatically.
-
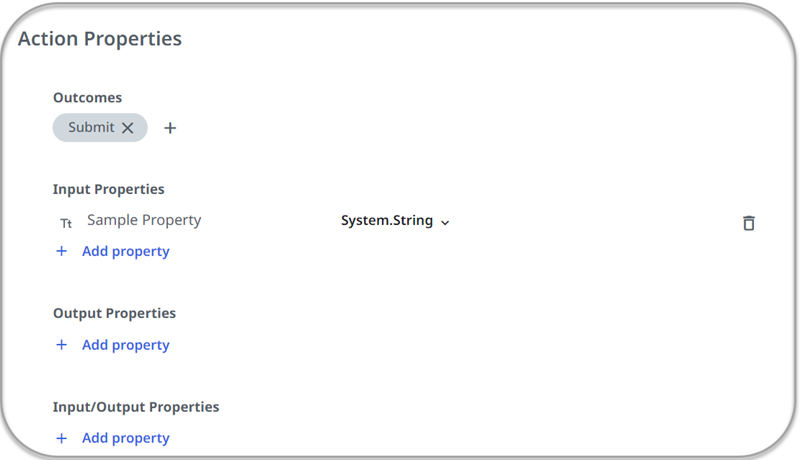
To add an additional property of any type, select any Add property option. To add an additional outcome, select the plus symbol below the Outcomes section.
note- The schema contains one Submit outcome by default and one input property by default.
- You can edit the property name, change the property data type or make a property required. Complex data types, like objects, also support sub-properties.
importantProperty names must adhere to the VB naming conventions.
-
You must map inputs and in/out properties to input controls in your app. If your app does not already contain an input control, add one now by selecting Add control.
note- If an input or an in/out property is required, it should be mapped to an input control.
- Outcomes should be mapped to a Submit Action rule.
-
Add a button by selecting, then dragging it into your app.
-
Select the button to highlight it.
-
In the Designer panel, select Events.
-
Select Create rule. The rule configuration window opens.
-
Type Submit action into the search field, then select the Submit action rule.
-
In the Action outcome dropdown, select the outcome you wish to map to the Click event of the button, such as Submit.
-
Once you finished editing your app, select Publish. The What's next window opens automatically.
-
Select Deploy now. A new Orchestrator page opens automatically.
noteIf you have multiple folders in your tenant, you can select the folder you want to deploy the app to.
-
In Orchestrator, select Automations.
-
Select Apps.
-
Select the Deploy app button, then select your app to deploy your app.
The app is deployed to Orchestrator and ready to be used in your automations.