CData Sync
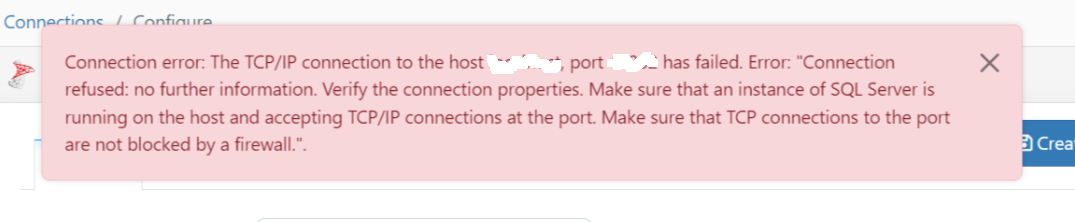
Connection error: The TCP/IP connection to the host <host>, port <port> has failed.
The following message is displayed when setting up a SQL Server destination connection in CData Sync.
Possible cause
There is an issue with CData Sync connecting to SQL Server.
Solution
-
Open SQL Server Configuration Manager.
-
Check the TCP Port number.
-
Check if TCP/IP is set to Enabled for the Port. The following illustrations shows an example.

Error: Database or disk is full
You may encounter errors while loading data using CData Sync. For example, when some of the tables have loaded successfully, but for the remaining tables an error message occurs indicating that the database or disk is full.
Possible cause
When CData loads data from your source system to Azure Blob, CData Sync temporarily stores the .csv for the task on the local disk on the server where CData is installed. This error might show up when there is an issue with the local disk.
Possible solution
Starting with CData Sync v25, a setting is available to configure the temporary location where data is stored.
Follow these steps to configure this:
- Go to the Advanced job settings.
- In the Additional Options field, add the following setting:
TempDirectory=D:\cdata_tmp.importantYou can use any drive or path, but make sure the folder is not located on the same disk where CData Sync is installed, and that the folder already exists.
If you are using an older version of CData Sync and encounter this issue, it is recommended to update to the latest supported version.
Error: Connection timeout loading data from SQL Server
When executing a task or job in CData with the source system set to SQL Server, you might encounter a timeout when running a query that produces a large volume of data.
Possible solution
There are two settings that need adjustment to handle the timeouts:
-
In the Source connection, go to the Advanced tab and locate the Miscellaneous section. Change the value for Timeout.
- This value is specified in seconds, you can increase this to 1800 (30 minutes).
-
In the Job settings, go to the Advanced tab to edit the Replicate Options. Update the value for Command timeout.
- This value is specified in seconds, you can increase this to 1800 (30 minutes).
note
Although the setting is described as controlling the timeout for destination connections, it also enforces a timeout on the source connection.
- This value is specified in seconds, you can increase this to 1800 (30 minutes).