Editing and testing data transformations
Editing transformations
Refer to the pages listed below for more information on editing data transformations.
Running the queries
For versions before 2023.10.7, Run all and Run file are limited to 10 minutes. Starting with 2023.10.7, Run all and Run file are limited to 1 hour. It is strongly recommended to use a small dataset for the development and testing of data transformations, to make sure your transformations do not exceed this time limit. Refer toProcess Mining portal for more information on uploading a development dataset.
When you are editing transformations, you can select Run queries to test your changes and see a preview. It runs the queries that were modified queries and all related queries. For example, if cases_input.sql has been modified. The Run queries command would run cases_input.sql and cases.sql, which uses the results of cases_input.sql.
The resulting data will only be available in the Data Transformations editor, not in the dashboard editor.
There are two types of runs:
- Run queries: starts a data run, recalculating all modified queries, and their dependencies.
- Run file: starts a run to recalculate only the currently selected SQL file and its parent queries. This option enables you to test and debug customizations to specific SQL files.
tip
You can select Cancel run at any time to cancel the transformations run.
The results are displayed in the Preview panel.
Run queries is typically much faster than Apply to dashboards which starts a full data run.
Run queries does not affect the data in the published process app.
Adding folders and files
You can create new folders and add new files in your transformations.
Naming conventions
- For names of files, folders, fields, and tables:
- you can only use lowercase (a-z) characters, uppercase (A-Z) characters, and numbers (0-9);
- you cannot use special characters
|*:?"<>\/for names of files, folders, fields, and tables.
- For file names, you can only use
_:.as special characters. - A file name cannot start with an
_(underscore).
Creating a new folder or file from the transformations menu
Follow these steps to create new folder or file.
| Steps | Action |
|---|---|
| 1 | Navigate to the location in the transformations where you want to add a new file or folder. |
| 2 | Go to the Transformations panel and select the menu |
| 3 | Select the applicable option from the menu. |
| 4 | Enter a descriptive name for the new folder or file and select Enter. |
The new folder or file is created in the selected folder.
Creating a new folder or file from the context menu
Follow these steps to create new folder or file from the context menu.
| Steps | Action |
|---|---|
| 1 | Right-click on the folder in the transformations where you want to add a new file or folder. |
| 2 | Select the applicable option from the menu. |
| 3 | Enter a descriptive name for the new folder or file and select Enter. |

The new folder or file is created in the selected folder.
Unsaved changes in files
When you edit a .sql file, a blue dot indicates in the Transformations folder structure that there are unsaved changes.
Renaming a folder or file
Follow these steps to create new folder or file.
| Steps | Action |
|---|---|
| 1 | Right-click on the folder or file you want to rename to open the context menu. |
| 2 | Select Rename. |
| 3 | Edit the name as desired and select Enter. |
The folder or file is renamed.
Deleting a folder or file
Follow these steps to create new folder or file.
| Steps | Action |
|---|---|
| 1 | Right-click on the folder or file you want to delete to open the context menu. |
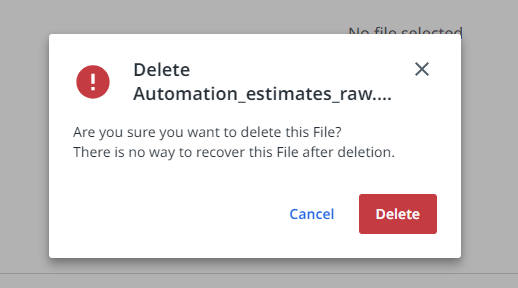
| 2 | Select Delete. A confirmation message is displayed. |
| 3 | Select Delete to confirm the deletion. |
The folder or file is deleted.
Adding comments in files
If you want to include comments in your SQL transformations files, or comment-out parts of the file, it is strongly recommended to use the Jinja comment syntax which is by default set to {# ... #}. This also enables you to comment macros.
SQL
{# {{ pm_utils.optional(ref('Cases_base'), '"Case_status"') }} as "Case_status", #}

{# case
    when {{ pm_utils.optional(ref('Cases_base'), '"Case_value"', 'double') }} >= 1000000
      then {{ pm_utils.as_varchar('>= 1M') }}
    when {{ pm_utils.optional(ref('Cases_base'), '"Case_value"', 'double') }} >= 0
     then {{ pm_utils.as_varchar('0 - 1M') }}
   when {{ pm_utils.optional(ref('Cases_base'), '"Case_value"', 'double') }} is not null
     then {{ pm_utils.as_varchar('< 0') }}
  end as "Case_value_group", #}
Find / replace in files
In the Data Transformations editor, you can find and replace texts inside a single file.
Find text
To find a text in the data transformation editor:
- Click on a random place in the code editor, or select the text you want to search for other occurrences.
- Press
CTRL+F. - Enter the test you want to search for in the Find field. All occurrences of the text in the current file are highlighted.
- Select
ENTERto skip to the next occurrence.
Find and replace
To find a text in the data transformation editor:
- Click on a random place in the code editor, or select the text you want to search for other occurrences.
- Press
CTRL+H. - Enter the test you want to search for Find field and enter the new test in the Replace field. All occurrences of the text in the current file are highlighted.
- Select
ENTERto replace the text and skip to the next occurrence.
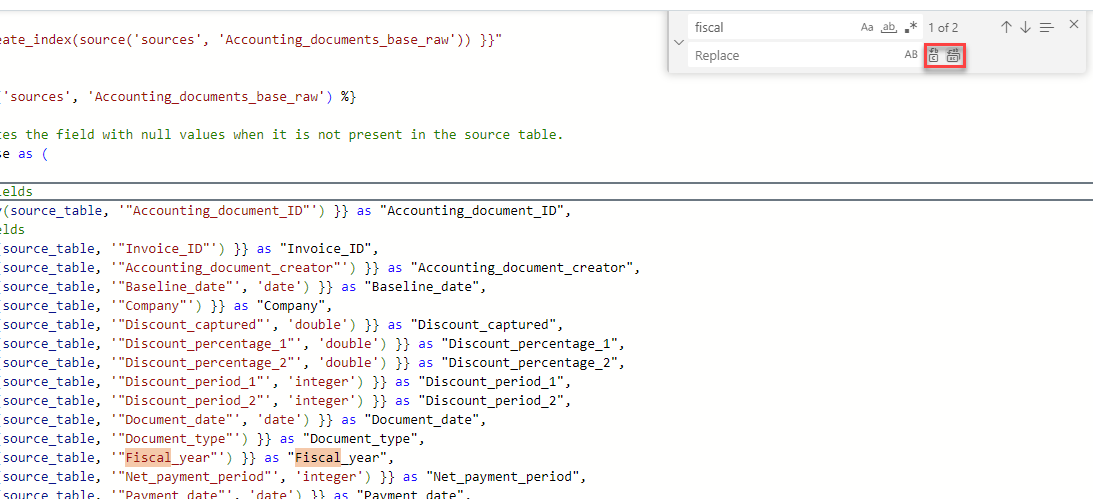
To find a text in the data transformation editor:
- Click on the code editor.
- Press
CTRL+H. - Enter the test you want to search for Find field and enter the new test in the Replace field. All occurrences of the text in the current file are highlighted.
- Press
Crtl+Alt+Enter.tipYou can also use the Replace or Replace all icons.
Find/replace in multiple files
If you want to Find/replace texts in multiple files, you can only do this in an external editor.
Follow these steps to Find/replace texts in multiple files:
- Export transformations from your process app.
note
If you have pending changes in the Data Transformations editor, first use Apply to dashboards, and export the transformations after the data run is completed.
- Unzip the transformations.
- Open the transformations in your favorite code editor, for example, Notepad++, or Visual Studio Code.
- Use the functionality of those tools to find or replace texts in multiple files.
- Save the files.
- Add the transformation files to a .zip file.
- Import the transformations in your process app.
note
When you are asked which data to use for a data run, select Cancel if you want to continue editing transformations before doing a new data run.
Editing dbt project configuration files
You can also open dbt project configuration files in the Data Transformations editor, for example dbt_project.yml.
It is strongly advised to only edit the vars section, if required. The other parts of the dbt_project.yml should not be changed to ensure the transformations keep working properly.
For detailed information on dbt, refer to the official dbt documentation.
Making the transformations available in dashboards
To make the changes available in the dashboards, you must execute a full data run to load the data and run the transformations. Select the Apply to dashboards button to start a data run.
Depending on the size of your dataset, this make take some time.
After a successful data run, the new transformations become available in the dashboard editor and can be used to adjust the dashboards.
If you have a published version of the process app, business users will instantly see the new data. If you want to make sure that your published app keeps running properly while editing transformations, it is strongly advised to use a development app. Follow these steps.
- Clone your app to create a development app.
- Edit and test the transformations.
- Export the transformations from the development app.
- Import the transformations in your published process app.