Actions
Introduction
Actions can be triggered by end users to perform a set of steps. For example: going to a web page, navigating to other dashboards, changing filters, etc. Actions can be used to provide more interactivity in an app.
Creating an Action
You can create for example an action which allows end users to go from one dashboard to another. Before creating an action to navigate to a dashboard, the ID of the target that is used to navigate to must be known.
Follow these steps to find the ID of the target dashboard.
| Step | Action |
|---|---|
| 1 | Open the app in you development environment and go to the Dashboards tab. |
| 2 | Right click on the dashboard you want to navigate to from an action and select Edit.... |
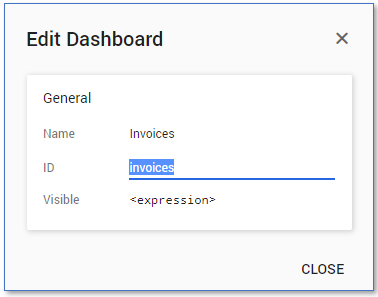
The Edit Dashboard dialog is displayed, showing the properties of the dashboard. See illustration below.
Follow these steps to define an action.
| Step | Action |
|---|---|
| 1 | Go to the Chart tab. |
| 2 | Right-click on the table in which you want to create an action and select New action.... |
| 3 | Right click on the add-action panel and click New step - Go to dashboard. |
| 4 | Enter the expression: dashboard(target-dashboard-ID) (where target-dashboard-ID should be replaced by the ID of the target dashboard). |
| 5 | Click on expression next to Hint and enter a text to display when the user hovers over the action. For example 'Go to target dashboard'. (i.e. including the quotes). Click on OK. |
| 6 | Enter a name for the action and click on CLOSE. |
Subsequent Actions
An action can consist of multiple step. For example, after going to a dashboard a message can be displayed on the screen. This would be an action with two steps. See illustration below.

Using an Action on a dashboard
To use the action, it must be placed on a dashboard where the end user to click on it.
Follow these steps to use an action on a dashboard.
| Step | Action |
|---|---|
| 1 | Go to the Dashboards tab and select the dashboard on which you want to enable the action. |
| 2 | Right click on the chart on which you want to place the action and select Edit.... |
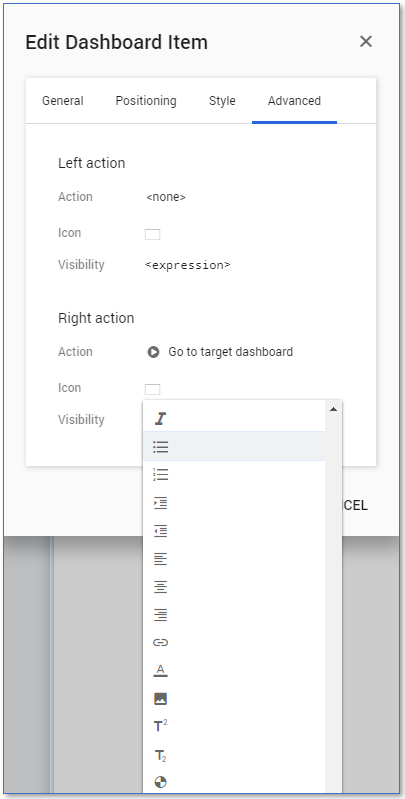
| 3 | Go to the Advanced tab in the Edit Dashboard Item dialog. |
| 4 | Depending on where you want to put the icon click on none next to Action under either Right action or Left action and select the action you want to place on the dashboard. |
| 5 | Click on the empty icon next to Icon and select the icon you want to display for the action from the drop-down list. See illustration below. |
| 6 | Click on OK. |
The action is now available to the end user. See illustration below.
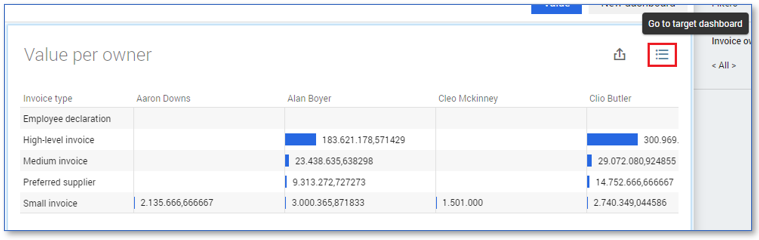
When the end user clicks on the action icon, the target dashboard will be displayed and a message is shown.
External Links
Besides internal navigation in the application, it is also possible to incorporate actions which link to external components.
Follow these steps to create an action to open a URL.
| Step | Action |
|---|---|
| 1 | Go to the Data tab and click on the Globals table. |
| 2 | Right click on Globals in the attributes list and select New action…. |
| 3 | Enter a name in the field Name. |
| 4 | Click on expression next to Hint and enter a text to display when the user hovers over the action. For example 'Open UiPath.com' (i.e. including the quotes) Click on OK. |
| 5 | Right click on the add-action panel and select New step - Open URL. |
| 6 | Click on the 'https://example.com' expression and enter a valid URL for example 'https://uipath.com/' (i.e. including the quotes) Click on OK and CLOSE. |
Use an Action on an HTML panel
Actions can be triggered from within an HTML panel. Using the data-mv-onclick HTML attribute an action can be specified to activate when an end user clicks on the specified HTML element. The HTML attribute data-mv-onclick has one argument: the UID of an action. Similar to the default attribute in a selector, the UID of an action can be determined with uid(ID_OF_ACTION).
Follow these steps to use an action on an HTML panel.
| Step | Action |
|---|---|
| 1 | Create a new dashboard with an HTML panel. |
| 2 | Go to HTML tab and click on expression next to Expression in the General panel. |
| 3 | Enter an expression to define the data-mv-onclick HTML attribute. See example below. |
| 4 | Click on OK. |
<<<<
<div
    data-mv-onclick=">>>> + uid(Go_to_target_dashboard) + <<<<"
>

        Click to go to target dashboard.

</div>
>>>>
This creates an HTML panel that, when clicked, triggers the action Go_to_target_dashboard.