Expressions
Introduction
Expressions allow you to add business logic to your data.
Creating a new expression
Follow these steps to create a new expression.
| Step | Action |
|---|---|
| 1 | Go to the Data tab in your app development environment. |
| 2 | In the table list, click on the table in which you want to create an expression. The table items are displayed in the table item list. |
| 3 | Right click in the table item list and select New expression.... |
The Edit Expression Attribute dialog is displayed. See illustration below.
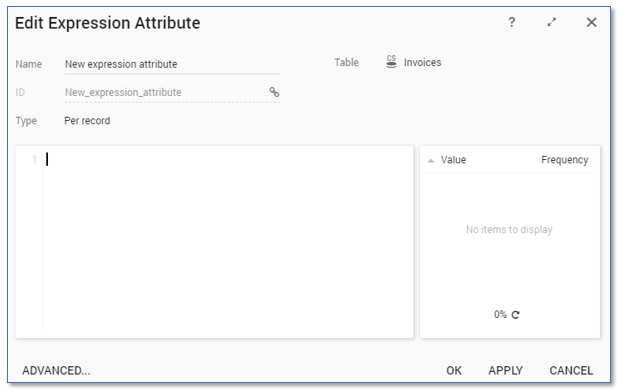
Below is a description of the elements of the Edit Expression Attribute dialog.
| Element | Description |
|---|---|
| General properties | Contains basic information about the expression: • Name •ID • The Table in which the new expression attribute will be placed |
| Type | Enables you to select the expression type: • Per record • Aggregate • Lookup • Switch |
| Expression editor | Enables you to define what the expression will compute. |
| Results panel | Displays the list of unique values of the expression and the frequency. |
| Help button | Opens the Expression help dialog. |
| ADVANCED... | Opens the Advanced Settings dialog. |
note
Within the general information by default the Name is linked to the ID. This can be turned on and off by pressing the link sign. When turned off it is possible to change the name without changing the ID, or vice versa.