Creating and Managing Branches
Add and manage branches from the Manage Branches window. To access it, either right-click the project node or a file in the Project panel and select Manage Branches, or use the  branch menu in the status bar.
- To add a branch:
- Select a branch in the table, and then click Plus
 at the top of the window.
 - Enter a name for the branch, click Create branch from branch_name, and then click Save. The branch is added to the list.
- Select a branch in the table, and then click Plus
- To refresh the list of branches, click Refresh
 at the top of the window.
 - To delete a local branch, select it, and then click Delete
 at the top of the window.
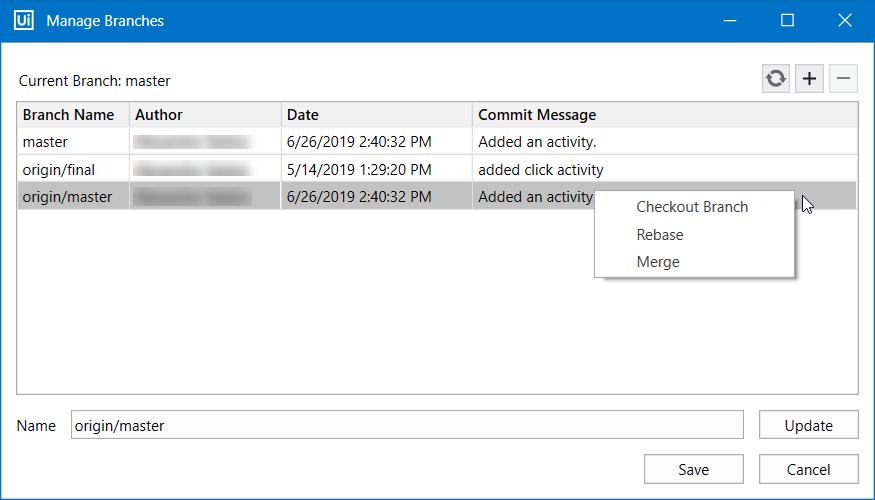
 - To manage branches, right-click any branch and select one of the options from the menu:
- The Checkout branch option switches to the selected branch.
- The Rebase option rebases the current branch onto the selected branch.
- The Merge option merges the selected branch into the current branch. To merge a branch into the master of a GIT remote repository, you need to have the master branch checked out in Studio and then merge the modified branch into master.
- To switch between branches, open the branch menu in the status bar, and then select the branch to switch to from the list of recently checked out branches.
note
Branches need to be added locally in Studio from the Manage Branches window. Adding branches from the remote GIT repository may cause issues when trying to switch between branches.
If uncommitted changes are detected when changing branches, you have the option to take the changes to the new branch or discard them from the Switch branch window.
